
With the ribbon on top of the application, you can configure almost every setting of the audio routing. There ribbon consists of different sections. Below you can find a detailed description of every section, with the functions available in that section.
Figure 1-74 The ribbon of the Audio application
In the Configuration management section, you manage the audio configurations.
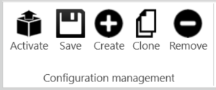
You can perform the following actions:
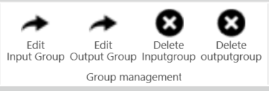
In the Group Management section you can edit and delete input and output groups. When you click the Edit button, a new window will open where you can change the input / output group settings.
The Node section gives more information about the node you selected in the matrix.

When you select an input group the Input group field shows the name of the selected group. In the matrix, a horizontal line, indicates which input group you selected. When you select an output group the Output group field shows the name of the selected group. In the matrix, a vertical line, indicates which output group you selected.
When you select a node in the matrix (input and output group), the node becomes highlighted and the ribbon shows the input and output group. When you select a node, the Node actions become available. There are three possible actions:
Per enabled node you can define the volume of the input or output group in the mix. To change the volume use the scroll bar in the Node status section. When you click Show Mix On Nodes, the volume will be displayed next to every node in the matrix.
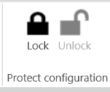
When you want to prevent a configuration from being altered, you can lock the configuration. To lock the configuration, click Lock. Next you are prompted with the question to provide a password This is the password you need to specify when you want to unlock the configuration..
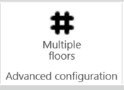
By default, the Floor Out is one output group that is sent to the loudspeakers of the units, as well as the relays and channel selectors. However, in some cases you need to send a separate mix to the loudspeakers and to the channel selectors/relays. For this option you need to activate Multiple floors. This divides the “Floor out” into “Floor out” and “Floor out CS”. That last group is the mix sent to the channel selectors and relays.
With these buttons you can create JSON files for the selected audio configuration. You can then save these files on a location of your choice or share them and then import them on the same or a different Plixus engine.
