Configure IP settings
Before you start using the CoCon web server you need to configure your local IP settings to be able to access the web server. Follow the procedure below to configure this.
To be able to access the web server your computer needs an IP address and subnet mask that can access the IP address of the WCAP. The default IP address of the WCAP is 192.168.1.110, which means the computer should have an IP address that is within the same subnet, like 192.168.1.11. The subnet mask must be the same for all equipment on the network, being 255.255.255.0.
Change IP settings in Windows
- Go to Control panel.
- Click Network and Internet and then Network and sharing center.
_397x246.png)
- Click Change adapter settings in the menu on the left.
_433x268.png)
- Right-click the Local Area Connection and select Properties.
_434x268.png)
- Select Internet Protocol Version 4 (TCP/IPv4) and click Properties.
_204x262.png)
- To assign a fixed IP address to your computer, click Advanced.
_207x234.png)
- Click Add in the IP address pane.
- Enter an IP address in the range of the WCAP, for example 192.168.1.11. Fill in 255.255.255.0 as subnet mask.
When you use mulyiple networks on your computer (for example when your computer is connected to the Internet via WIFI, and it is connected to a central engine using a network cable), do not fill in the default gateway.
- Click OK. You are now ready to access the CoCon system.
Change IP settings in macOS
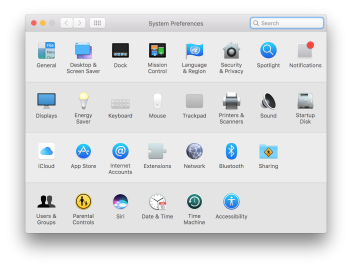
- Go to the Apple Menu and select System Preferences.
- Select Network from the menu.

- Click the Advanced button.
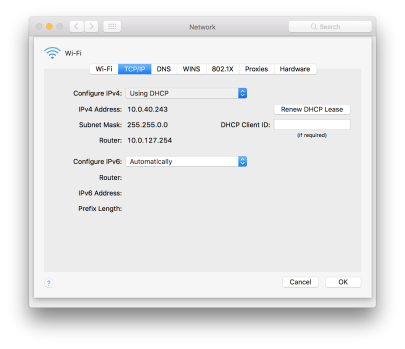
- Select TCP/IP in the menu on top.
- Change Configure IPv4 to Manually.
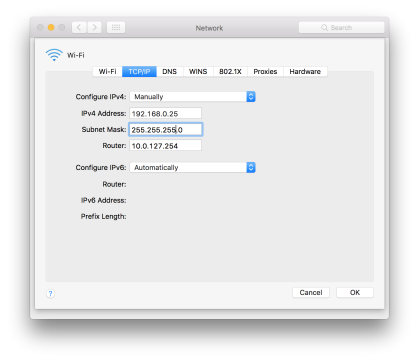
- Enter an IP address in the range of the WCAP, for example 192.168.1.25. Fill in 255.255.255.0 as subnet mask.
- Click OK.