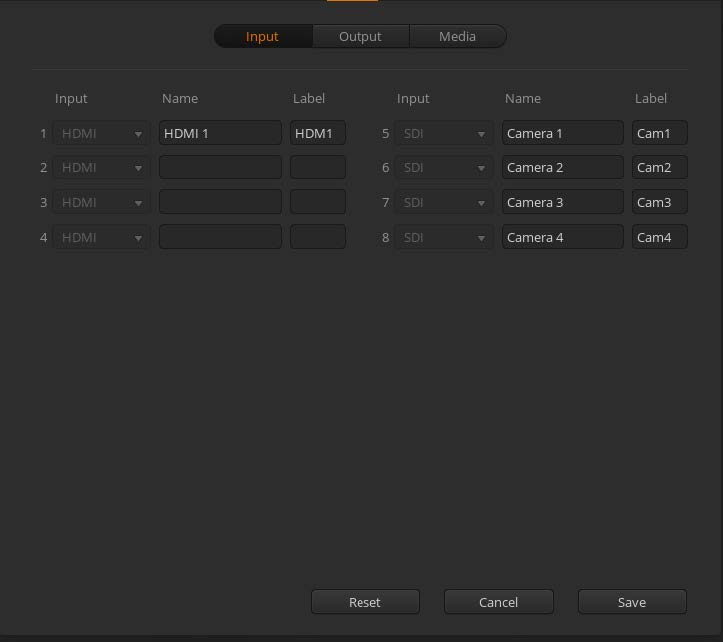
Check Declink driver version and Install Desktop Video Installer
For windows 7, use v10.9.7
For Windows 10 use v10.11.2
If after update and reboot of PC , an update of firmware is requested , click OK or accept
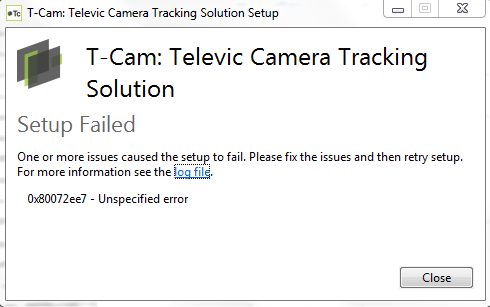
When an error occurs: please run the following installer: NDP452-KB2901907-x86-x64-AllOS-ENU to install .net 4.5.2. After restarting the PC, run the installer again.
Plug in the ATEM via USB, and Ethernet (the PC and the ATEM must be on the same network).
Run the Blackmagic ATEM Setup to set a fixed IP for the ATEM switcher that will be valid for the network. Copy the IP Address.
Run the ATEM Software Control, paste the IP set previously.
Then the following window is shown:
From the File menu, select, Restore and load C:\Program Files (x86)\Televic Conference\T-Cam\ATEM_config.xml. This ensures that the labels and references are set correctly.
Click the Settings icon in the bottom left corner of the window to open up the settings. In the General tab, set the Video Standard to the same resolution as your cameras.
Possible Resolutions for ATEM Television Studio (HD) are:
720p50
720p59.94
1080i50
1080i59.94
Make sure selected resolution is corresponding with resolution settings in capture card and on cameras !
We recommend the highest resolution(1080p59.94).
Click on Set, then press the Done button at the bottom to save the settings.
In the labels tab, verify that the input sources settings :
When the capture card is used, open Blackmagic Desktop Video Utility.
Click the icon under the card and select the SDI icon (not HDMI).