
The following settings can be accessed on both the central unit and the web server. That’s why we will refer to "Configure general D-Cerno settings" on page 1 for the explanation of the different options.
After you successfully access the D-Cerno web server for the first time, you can change the volume settings of the central unit, directly from the web server. Change the volume using the slide bar.
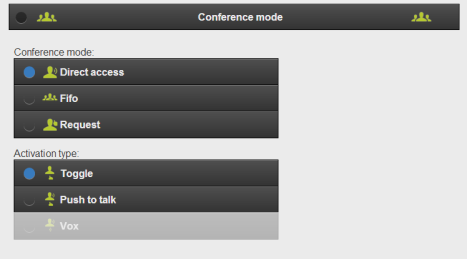
See "Configure conference modes" on page 1 for more information.
In the CoCon web server you can configure two additional settings which are not available on the central unit:
See "Configure VOX settings" on page 1 for more information on the other VOX settings.

For more information see "Configure microphone settings" on page 1.
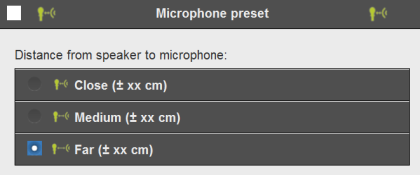
For more information see "Configure microphone settings" on page 1.

For more information see "Eco mode" on page 1

For more information see "Configure general D-Cerno settings" on page 1.
For more information see "Headphone volume" on page 1.

For more information see "Chime" on page 1

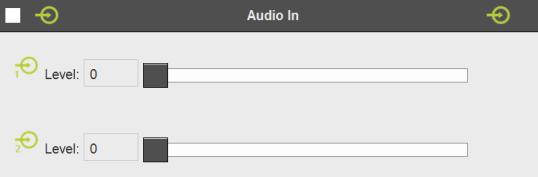
For more information see "Configure external processing" on page 1.
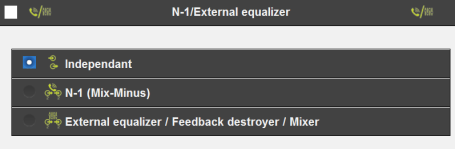
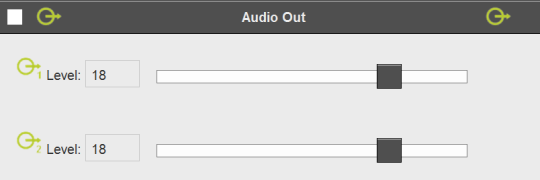
For more information see "Configure external processing" on page 1.
For more information see "Configure external processing" on page 1.
For more information see "Configure general D-Cerno settings" on page 1.

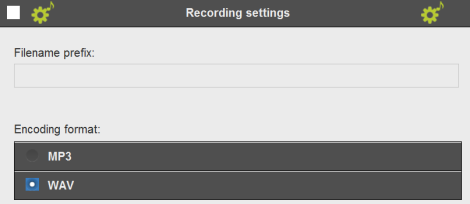
The encoding format and file name prefix can be changed in the record settings.
One minute of recording in MP3 format at 192kbps takes about 1.5MB.
The “IP address” is the destination IP address (UDP) and “Port” is the destination port (UDP). For more information about the camera protocol string we refer to chapter 16.
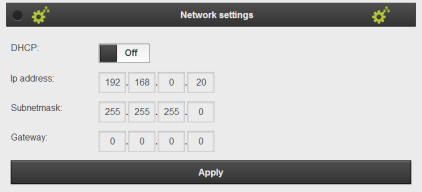
You can customize the TCP/IP setting to allow the D-Cerno central unit into your personal or company LAN network. When using multiple D-Cerno central units it is mandatory to choose different IPs to prevent conflicts. After clicking “Apply” you need to restart the Central Unit by clicking the ON/OFF button and also change the IP address in your browser to the new IP address.
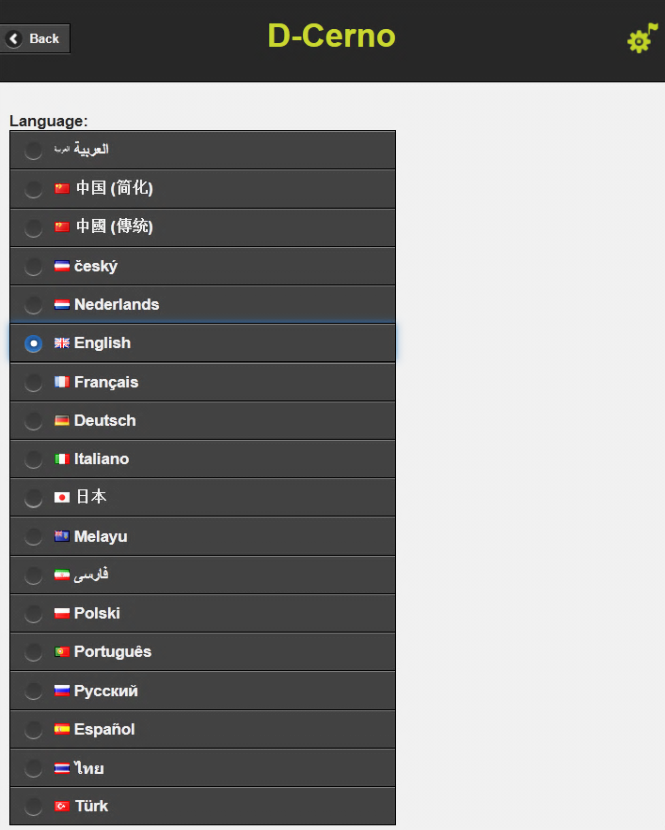
In the language setting you can select your preferred language to view the D-Cerno web server in.
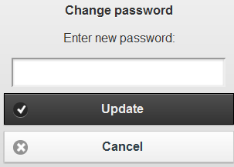
The default password is“1234”, it is possible to change this in the screen displayed below.
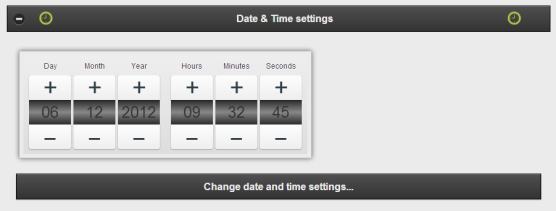
In the time and date settings window you can see the clock of your computer. This is not the clock of the D-Cerno CUR. If the timestamp that is added to the recorded files is not correct you can change the time and date by clicking Change date and time settings…. This way you have the correct timestamp.
Here an update of the system can be performed. For a detailed description of the update procedure please see "Update D-Cerno" on page 1.